Shoulder X-rays Interpretation steps include:
- Step 1: assess Bones
- Step 2: assess Joints
- Step 3: assess Soft tissue
- Step 4: assess Ribs and Lungs
Step 1: assess Bones
- Trace the edges of the bones looking for cracks while assessing the bones in Shoulder X-rays interpretation
- Start with Humerus then clavicle, glenoid, coracoid, spine, acromion, scapula, subscapular fossa
- If you see the fracture then start with the fracture then look elsewhere
- Look at the general appearance of the bone looking for decrease or increase in density (osteopenia vs osteosclerosis) or abnormal trabeculation (Paget’s disease)
- Decrease in bone density in greater tuberosity of humerus is normal
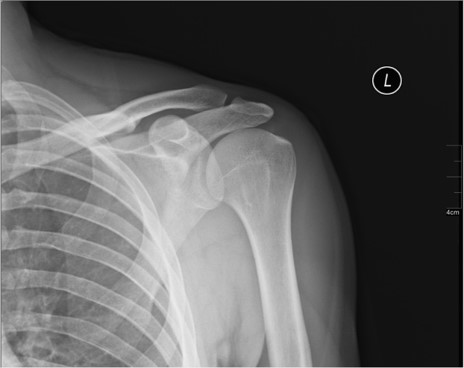
Step 2: assess Joints
- Assess:
- Glenohumeral joint
- Acromioclavicular joint
- Sternoclavicular joint
- Look for the shape of the joint, congruity of the bone ends and look for narrowing or asymmetry
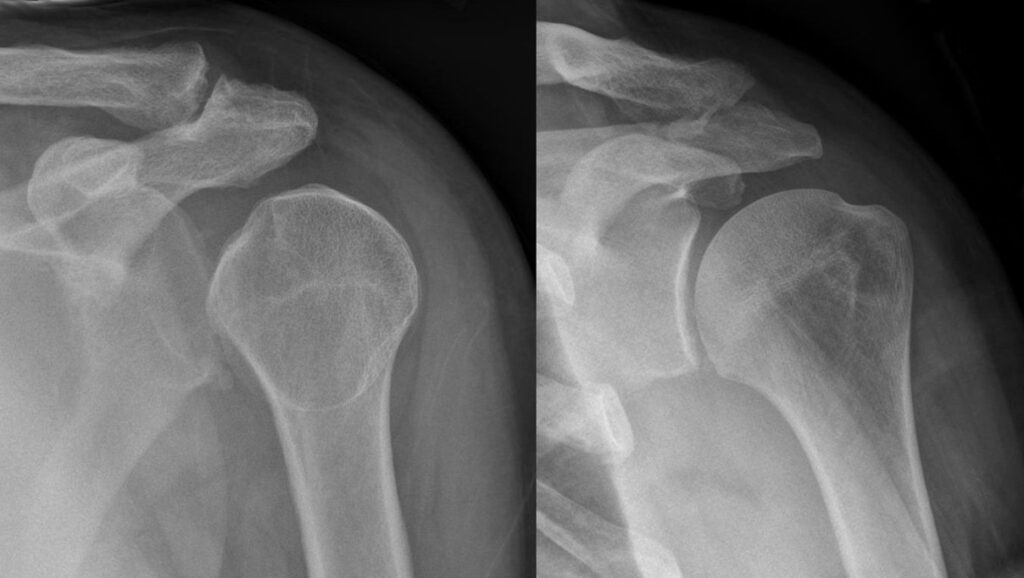
- Glenohumeral joint: overlap between humeral head and glenoid with articular surfaces almost replicating each other
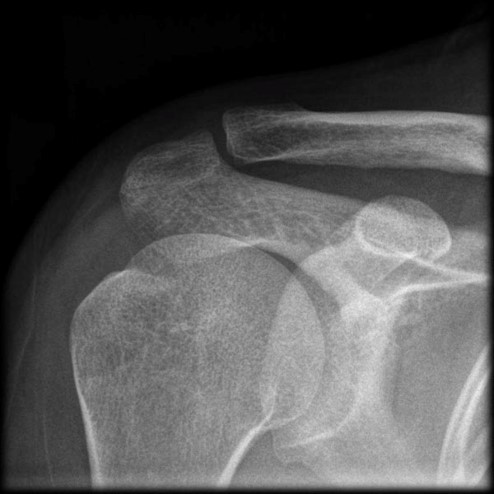
- Acromioclavicular joint
- The inferior edge of the clavicle bone and inferior edge of the acromion should be leveled (on the same line) on clavicle AP view with 20 degree cephalic tilt
- It is okay if the superior edges don’t match up
- The joint space should be uniform and joint distance less than 8 mm (normal 5-8 mm)
- Normal Coracoclavicular distance is between 11- 13mm and there should be no greater than 5mm difference between right and left
- Sternoclavicular joint also checked if you can see it

Step 3: assess Soft tissue
- Soft tissue refers to all soft tissues except lungs
- Look for changes in density, abnormal bulges or any obvious secondary signs of trauma
- Higher density soft tissues are muscles while lower density soft tissues are fat
Step 4: assess Ribs and Lungs
- Check the ribs looking for fractures
- Check lung field make sure they reach the rib cage (no pneumothorax )
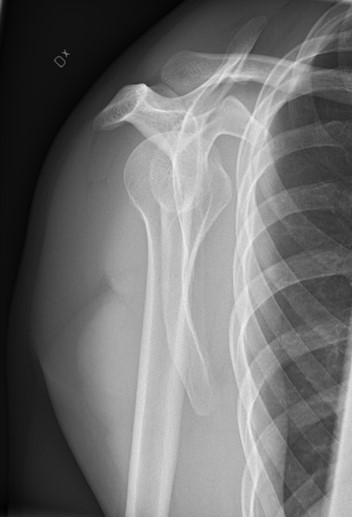
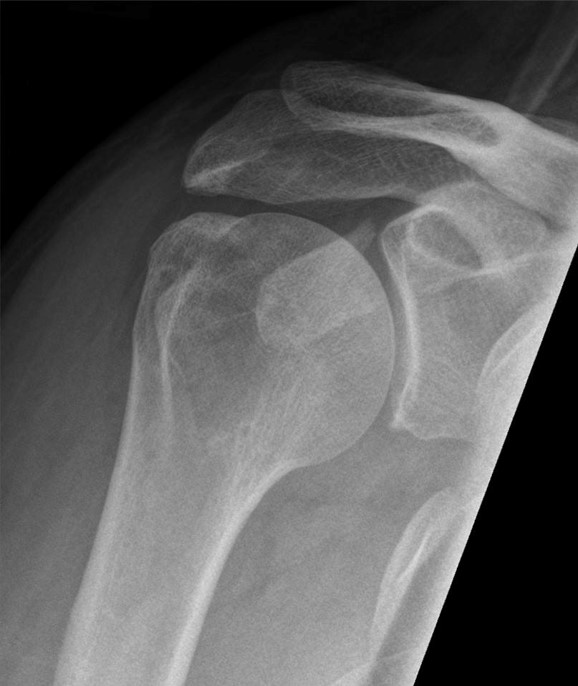
Lateral Shoulder X-Rays
- Same 4 steps applies to the lateral shoulder X-Rays
- Coracoid process always pointing anteriorly
- Humerus is sitting in the middle of the glenoid
- Lung fields going to the edges of rib cage
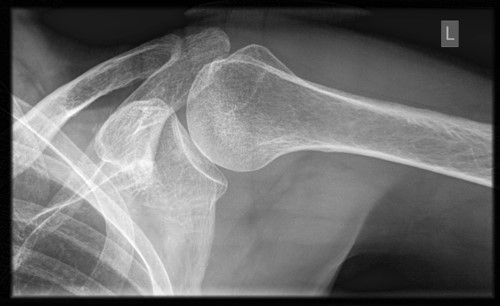
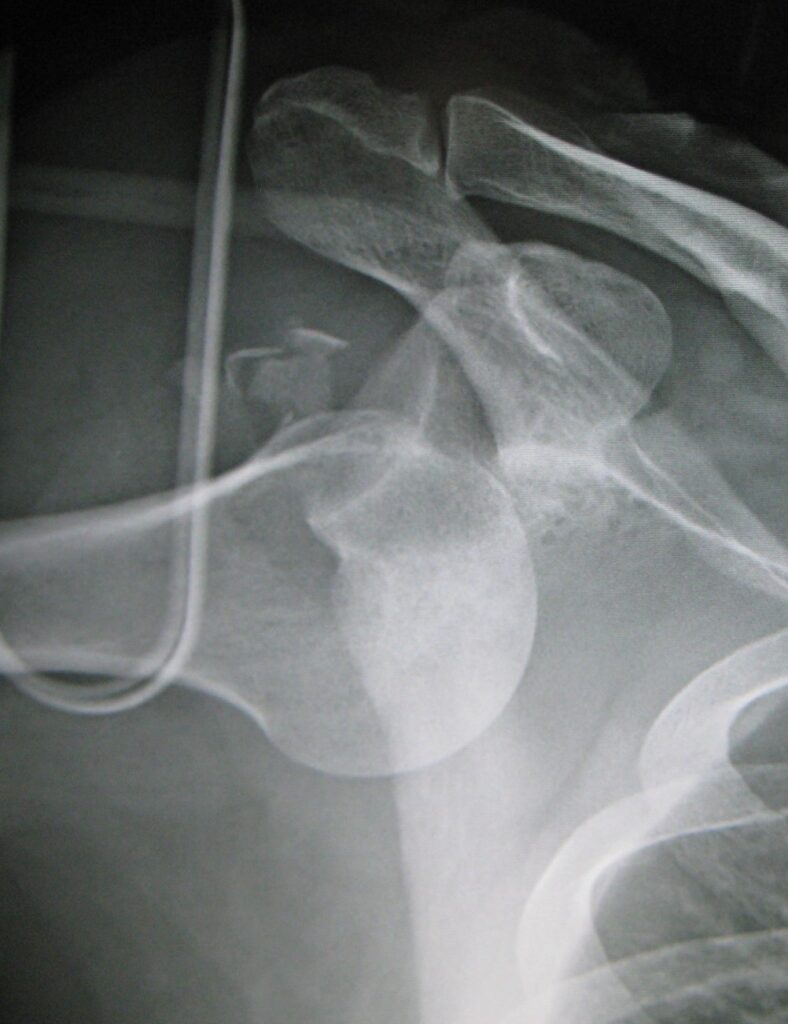
Axial Shoulder X-Rays
- Not easy to obtain on trauma patients (painful)
- Same 4 steps applies to the axial shoulder X-Rays
- Anatomy: acromion, humerus, coracoid, clavicle
- coracoid always pointing anterior
- Make sure the Humeral head is sitting in the glenoid
Imaging Series
- Shoulder series
- AP
- Lateral
- +/- Axial
- Clavicle series
- AP
- Axial
- SC joint series
- AP
- Axial
- AC joint series: not many AC series (unless it is a confirmed injury) are done so you going to use clavicle X ray or AP shoulder to assess AC
- AP
- +/- Axial
SC Joint X-Rays
- SC joint require AP and Axial to be evaluated
- Also requires knowing the symptomatic side
- Draw a line between your midclavicular plane for both views, so you can appreciate the displacement
- Axial very helpful in looking for displacement
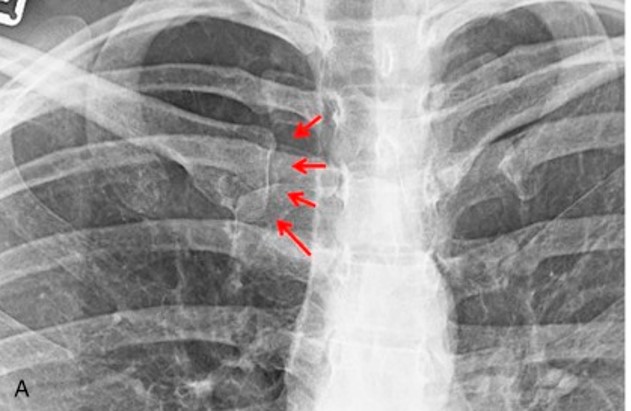
Examples
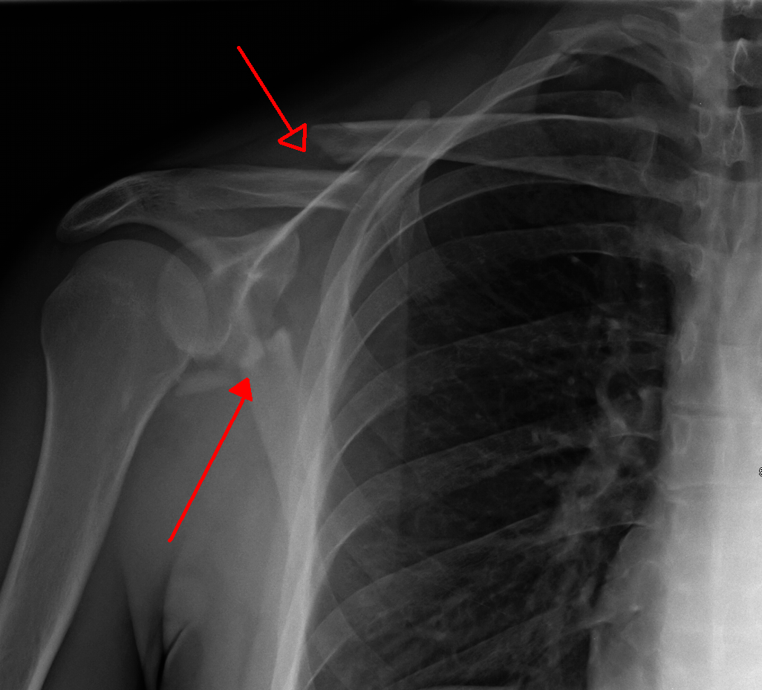

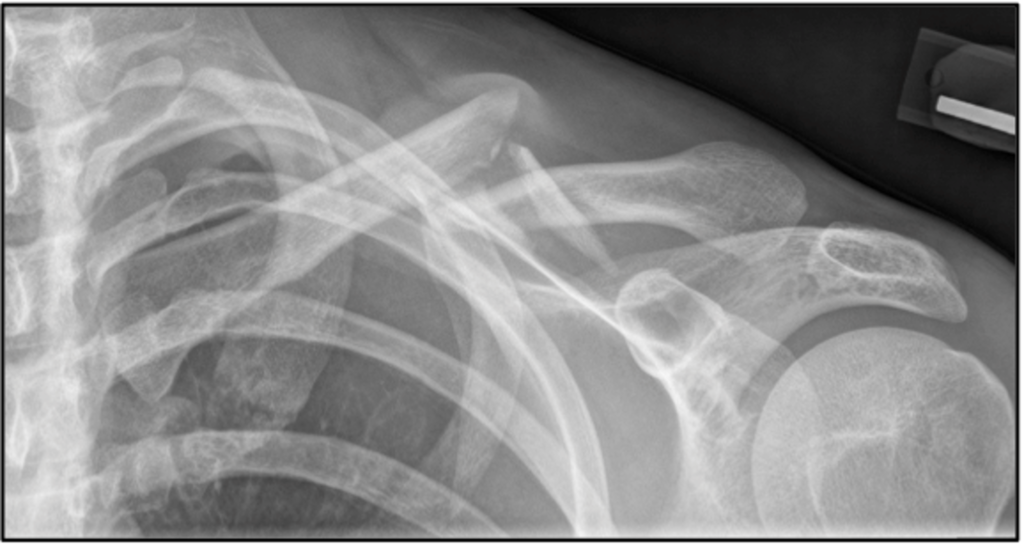
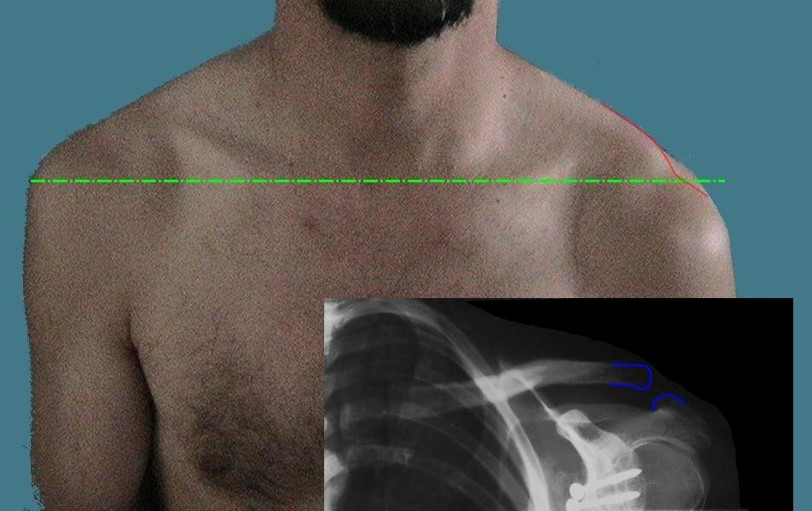



Course Menu
This article is apart from the Shoulder and Arm Trauma Free Course, which contain 10 lectures listed down below:
